Makes: 12 mini tarts (~6cm in diameter)
Time required: 3 hours
Difficulty: ★★☆☆☆
Inspiration:
Most of the time my baking ideas come while walking through the supermarket to see which fruits are available. One of the (many) great things about Hong Kong is that we get fruit imported from all around the world which means that fruits like raspberries are available throughout the year and usually at a reasonable price. Given raspberries are super cheap at the moment, I decided to make a dessert bursting with raspberries. The elements of this tart are:
- Sable base (my first time making a sable and it was super buttery and delicious that I was hoping some of the bases would crack so I could eat them straight from the oven)
- raspberry cream
- fresh raspberries
- chocolate disc
- apple chip
Ingredients:
Sable base:
- 150g butter
- 70g icing sugar
- 70g almond meal
- 100g plain flour
- 10g salt
Raspberry cream:
- 300g butter
- 200g raspberries
- 150g icing sugar
Chocolate disc:
- 200g dark chocolate
Apple chip:
- 1 green apple
- 20ml lemon juice
- 40+100g caster sugar
- 1 gelatin leaf
- 10g butter
Instructions:
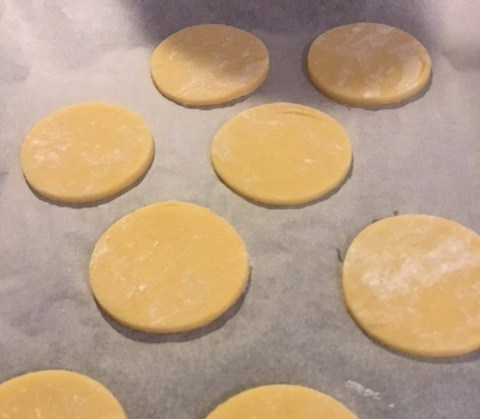
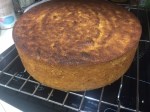
Sable base:
- whisk together butter and icing sugar until light and fluffy
- sift in the flour, almond and salt and mix until well combined
- flatten into a disc on a baking sheet and refrigerate for 1 hours
- roll out to ~1cm thick and return to the fridge for another 20 minutes
- cut out 12 circles around 6cm in diameter and bake the circles inside the rings at 160C for 15 minutes, removing the rings after around 10mins in the oven
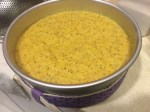
Raspberry cream:
- puree raspberries in a food processor and simmer over medium heat until slightly reduced
- whisk together butter and sugar then slowly add in the raspberry and whisk until well combined
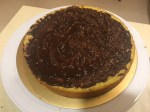
Chocolate disc:
- temper chocolate over a double boiler
- spread onto a sheet of acetate
- when slightly set, cut out 12 circles, around 5cm in diameter
apple chip:
- place apple and lemon in a food processor
- bloom gelatin, then drain and place the bowl over a pot of simmering water to melt the gelatin
- add the gelatin and 40g of sugar into the apple/lemon then process until well combined
- add the apple puree, remaining sugar and butter to a pan over medium-high heat and simmer until slightly reduced
- spread the puree over a baking sheet (in different shapes) and baking at 150C for 5-10 minutes until lightly golden
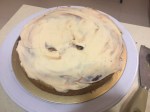
Assemble:
- for each sable base: place raspberries around the edges and fill the hole in the middle with some of the raspberry cream
- place the chocolate disc on top of each tart then pipe another dallop of raspberry cream
- top with an apple chip (or any other decorations) … i also tried decorating it with a chocolate leaf